|
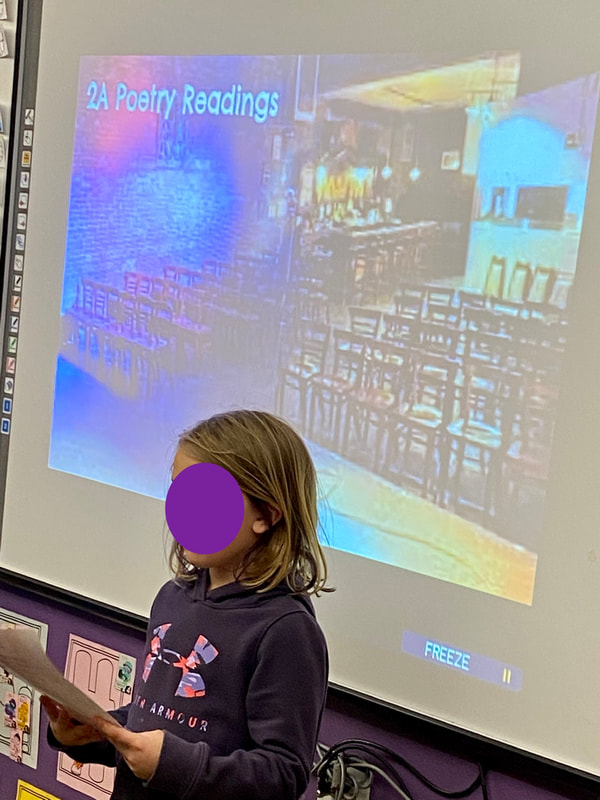
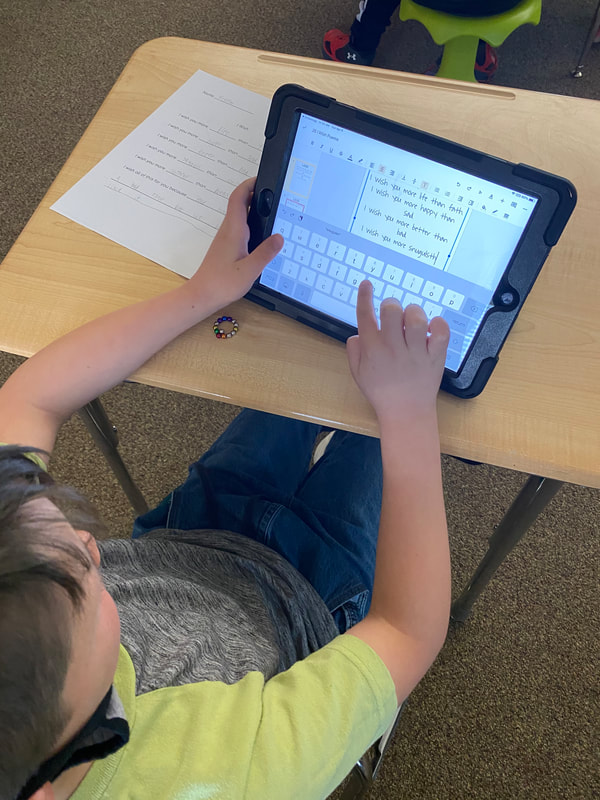
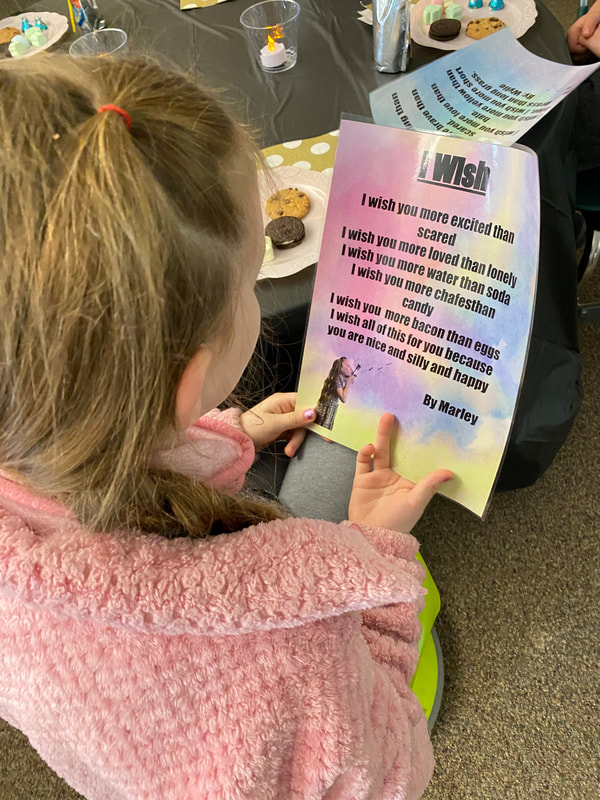
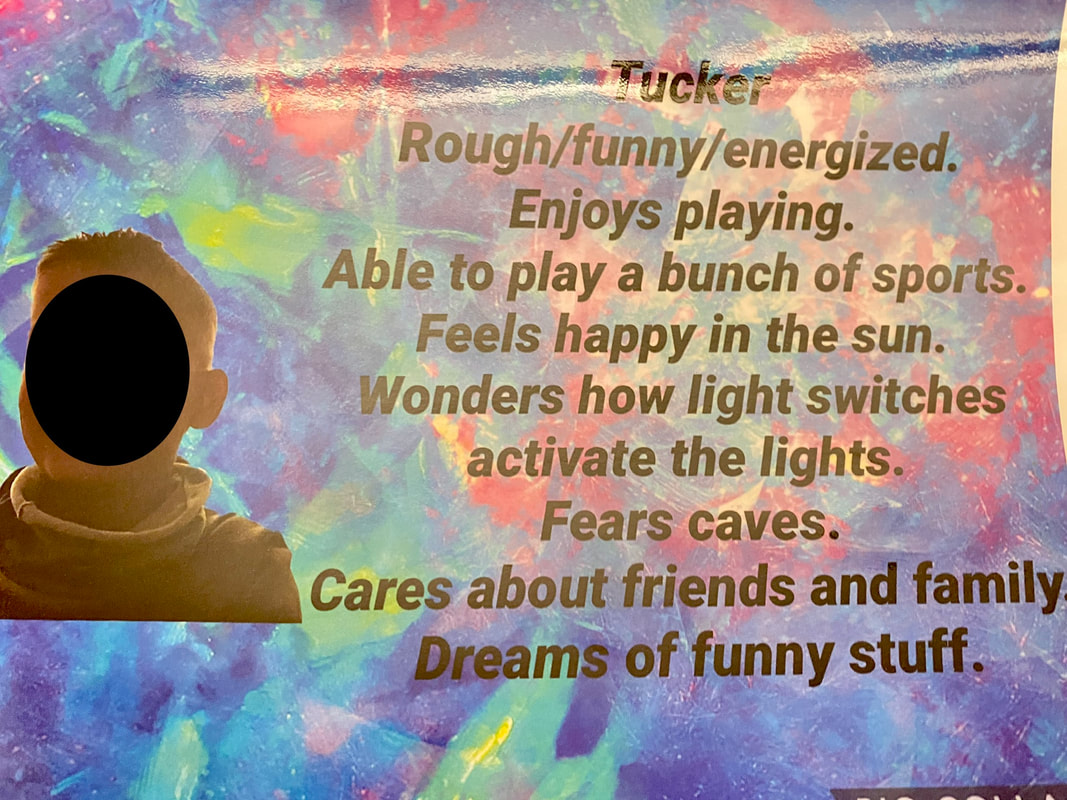
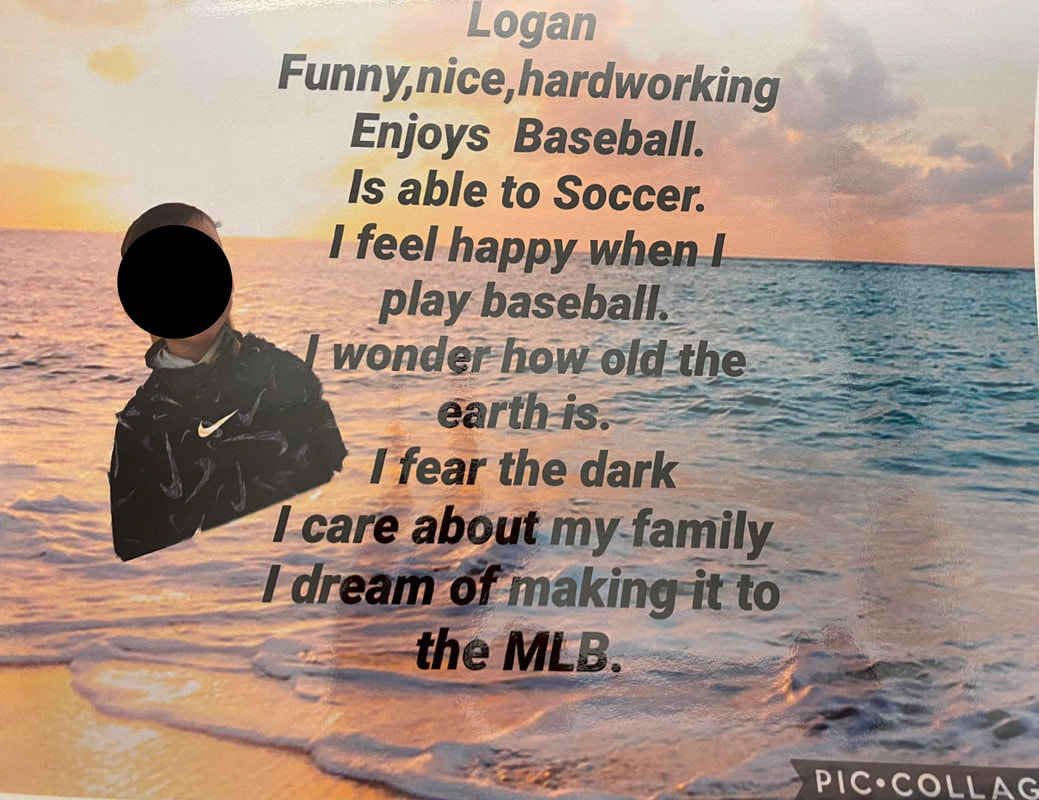
I remember sitting in class my senior year of high school listening to my teacher tell us how to understand the meaning of a poem. Something about the color red representing loss or being a color of evil. I wondered to myself, “If this is what teaching or learning poetry is all about, it’s not for me.” Because of that poor experience, poetry hasn’t been my favorite thing to pick up and read. It certainly wasn’t something I wanted to teach. For the last few years, I dabbled in teaching poetry to my class. I have to admit, I didn’t believe I was good at writing poetry so I didn’t really expect my students to be either. We wrote some acrostic poems or tried our hand at rhyming, but it wasn’t something purposeful or necessarily meaningful. It was more of a filler activity if we had time. Then I took a master’s class in poetry. As a student, I experienced poetry in a new way and my mindset was shifted. I now view poetry as amazing! Ok...it might have had something to do with my professor and her love, passion, and viewpoint of this type of literature to get me interested but now I am HOOKED! Teachers are amazing that way. 😉 Here are some basics I took away about writing poetry. 1. It doesn’t have to rhyme. 2. You can write any way you want. You don’t want to capitalize a proper noun then don’t. 3. You are never wrong. This was a game-changer for me. That next week I marched to our school library and checked out stacks of poetry books. I couldn’t wait to share these with my class. Each morning I would pick a poetry book, flip to a page, and start reading. Then, as a class, we would talk about what we liked about the poems. Did we like the style? Topic? The way the author wrote it on the page? By the end of the second day, I had students asking if we could write poems. My answer….of course! Before I sent students off to write, I modeled for them first how to get started. (Modeling for students is good teaching practice, no matter the subject area!) I thought of a topic that I knew something about then I started to write phrases. I modeled for students to go back, to change, getting stuck in my thoughts, and finally be happy with my finished product. For the next week, students would get time in the morning to write poems. They wrote about sports, friends, family, colors, themselves, and so much more. Students learned about different types of poems like acrostic, Biographical poems, poems about using their senses, and narrative poems. As a final project to showcase their learning, students listened to the book I Wish You More by Amy Krouse Rosenthal. This book was great text to introduce and teach students about synonyms and antonyms. Students created their own poems based on the work of Rosenthal. They used Google Slides to type their final drafts. Students loved the freedom to use different fonts and sizes. Next, students used PicCollage to create an image of them blowing a wish from a seeded dandelion. One student had the idea to put their wishes in small print and blow them away like the seeds. At the end of the week, we held a poetry reading for our students. Students walked in after lunch to candlelit tables with fancy plates filled with goodies to snack on as they enjoyed the reading of their peer’s poems. The best part was to teach students to snap instead of clap when one’s reading was finished. After seeing the excitement in my classroom throughout this poetry unit, I am so excited to integrate this into our upcoming years, thinking of new ways to make it even more impactful. Students loved to share their poems and I learned so much more about them from their writings. Now keep in mind, we like to Integrate subjects, standards, and skills whenever we can. We also like to spiral our learning and our teaching. With that being said, we came up with a short list of different ways you could integrate poetry into your teaching. These are only a few ideas to help get your creative juices flowing!
0 Comments
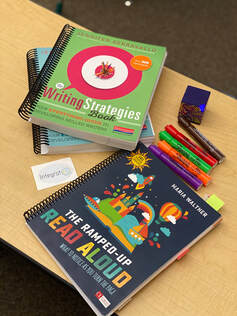
Anyone else remember the early 90’s sitcom, Home Improvement? That was a weekly family event in our house, watching the new episode that came out. And then after it stopped airing, every rerun that was shown. I am pretty sure I could at least remember a snippet from every episode of that show. But the one line that you heard on every episode, without fail… “Does everyone know what time it is? Tool Time!” Anyway … when thinking about what we wanted to share this week, we wanted to give you some concrete takeaways that you could implement tomorrow if you’d like. So we decided that we would share our top ten tools. Now, we aren’t going to share about tools that can fix your leaky faucet or wiggly table, but some tools that we find we use on a consistent basis in our classrooms, tools (both hands on and tech related) that we couldn’t teach without! Now you know why that classic Home Improvement line kept popping up into my head! 😉 Top Ten Tools:
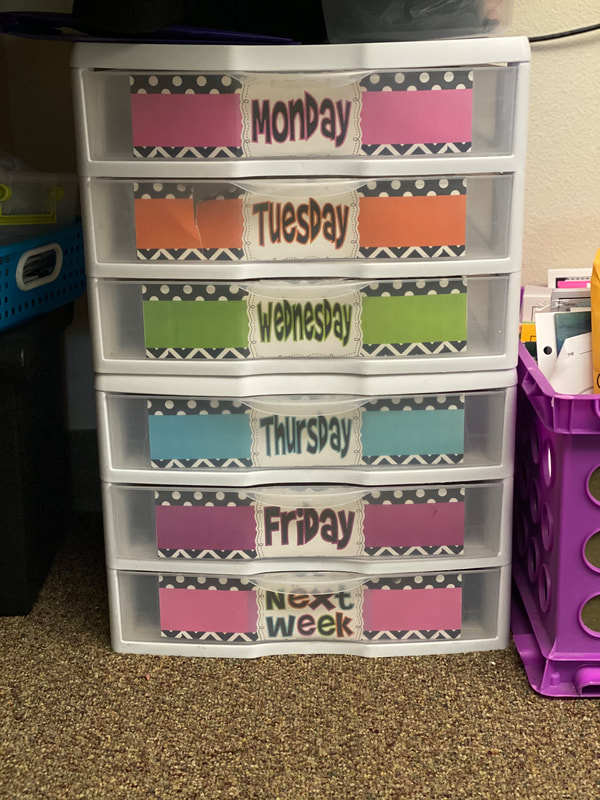
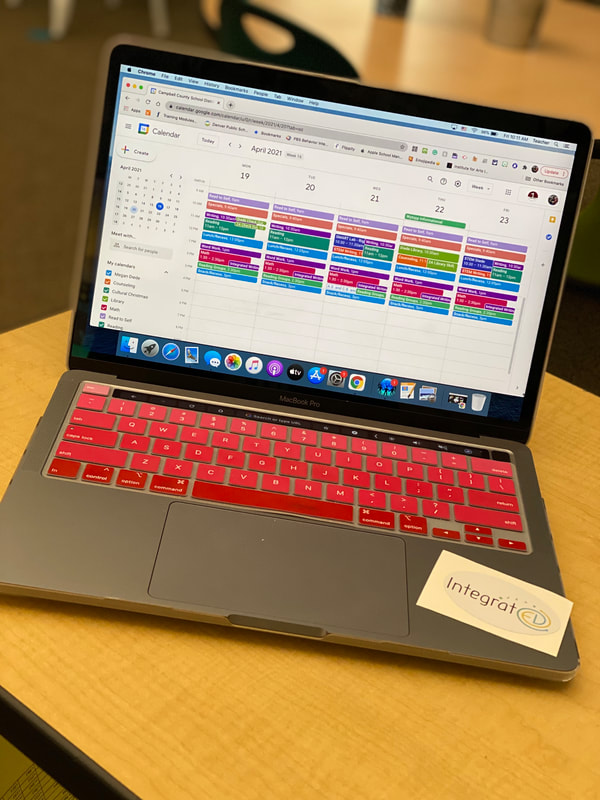
7. Symbaloo: This is a website that allows you to create a grid of all the websites that you use frequently. We set this as our home page on our preferred internet browser. Then when we open our internet browser when we start our day all of the daily websites we need are right there! When using Google Chrome, you can also “Pin” this site to stay up. 8. Apps: Book Creator, Epic, Flipgrid, Prodigy (There are more but we tried to limit ourselves! 🙂) 9. Daily Drawers: We have purchased two sets of 3 drawer containers that we use to organize our daily supplies. Whether it is paper copies, read alouds, games, etc. we fill those daily drawers with whatever we may need. This also makes things easy for a sub if they have to come in unexpectedly. 10. IntegratED Unit Planner: We have developed a unit planner that helps us create engaging, effective, creative units throughout our year. We love this planner to help keep us on track and organized for our long term planning and goals. (Coming soon for purchase!) *** None of this is for an ad! These are just some of the things we love that we wanted to share with you!
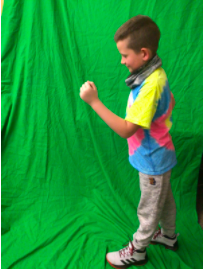
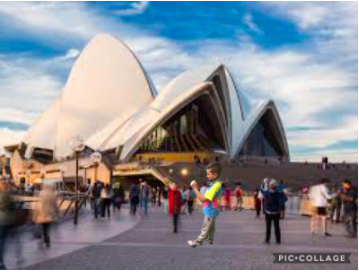
Too often we hear, “My students can’t do that! They are too little to make that work!” However, we are here to tell you that elementary students, even the primary age students (K-2), are capable of doing amazing things with technology. Green screen projects are a great way to integrate technology into your classroom, no matter the grade level! Here are some ideas that can be used as is or modified to fit whatever grade level or subject you teach. 1. Opinion Writing: After students have written an opinion piece, have them bring their writing to life! Students can record themselves reading their writing with images that correspond to their writing in the background. Students were writing their opinion pieces on if they would want to be a cave explorer! This project was integrating research on landforms (science), opinion writing, non-fiction reading skills and strategies, and technology. 2. Current Events: News Report: Students can research and then report on current events, creating their own weekly or monthly news report. 3. Readers Theatre: In a guided reading or whole group setting, students can record their readers theatre performance, using green screen to increase their engagement and ownership of their performance. Getting ready to record on the green screen! A great activity to practice fluency and speaking and listening skills. 4. Informative Writing: Engage audiences by incorporating green screen images or video to showcase a research paper/project. Students will be more motivated and engaged while researching with this end project in mind! Animal research is always a hit with our students! It is a topic that is easily integrated into science, reading, writing, and technology! 5. Students teaching Students: This idea can be modified for so many things! One example would be for math. Students teach students different math problems by breaking them down step by step. The background is the math step/math problem. With this one being recorded and segmented, this one would have to be made into a video so an additional app would be needed to put the video together, such as iMovie. 6. Holiday Fun: Whether you are celebrating Christmas or Valentines Day students can use green screen to send personalized messages or showcase their favorite parts about those holidays. 7. Map It!: Using the subject of social studies and geography, students can showcase their knowledge of different countries, states, locations using those images in the background. 8. All About Me: Need a fun and engaging beginning of the year idea? Have students create an all about me green screen project! Students record themselves sharing their favorite things and a little about themselves. The background images are what they are sharing about in their video. With this one being recorded and segmented, this one would have to be made into a video so an additional app would be needed to put the video together, such as iMovie. 9. Alphabet Fun!: (K-1) Have students show their learning of the alphabet by recording the letters and a word associated with those letters. The background images are the words they are sharing! 10. Bringing Books to Life!: Whether you are working on a book report, reading strategies or skills, green screen is a great way to make books and those abstract skills more scaffolded and engaging to students. Using green screen to showcase student understanding of text is also a great way to differentiate for those students who have difficulty expressing their thoughts on paper. All the ideas listed above can also be done in one of two ways, using a green screen with still picture or video. There are many apps that will help in your green screen creation. A few apps that we use often in our elementary classroom for green screen projects are PicCollage, iMovie, and Green Screen by Do Ink (paid). There are many other apps that are available, these are just our current favorites. ● PicCollage : If you are looking for an app that has lots of options for creation and productivity, look no further! PicCollage is not just for inserting pictures. Students can create so many things using photos, video, cut outs, green screen pictures, various backgrounds, templates, grides, text...you name it. We like this app because it is easy for any age of student to use, as well as, it gives students choice and the opportunity to personalize their learning. Another amazing feature... this app is FREE! There are certain features within the app that you can pay to upgrade, but we have never had the need to do so. ● iMovie: If you are an apple product user, we are sure you have heard of iMovie before. However, many are leary of using iMovie with students because they feel it can be too complicated or overwhelming. We are here to tell you that with modeling and some scaffolding, your students will be able to use and manipulate this app to create green screen magic! iMovie offers many editing and creation features when making a video. This app also has trailer templates that the students can drop their videos into, add text, and then they have their own green screen movie trailer! The iMovie app is also FREE! ● Green Screen by Do Ink: This app is designed specifically for students to create using green screen images and video. The editing and creating of the video is a little simpler than iMovie and more user friendly for primary age students. You can add video, pictures, and there is even a live camera option on the app. There is also the option to add in additional elements to the video/photo. This app offers so many creative elements for students to make their green screen vision come to life! With just a little modeling on how to get started, our students were easily able to figure out the app and create some great content! We highly recommend this app, however, one this to keep in mind is that this is a paid app. One thing we have done in the past to help on cost is we paid to put it on some devices and then had students work in pairs or teams on their project. Now that you have some ideas starting to form and some tools and resources to help you get started, it’s time to jump in and start creating! Green screens are a wonderful way to integrate technology with a variety of content, all while the students' engagement, excitement, and knowledge of both the content and the technology grow. Pro Tip: You don’t actually need to have a fancy green screen to make these projects happen! In our classrooms we actually use plastic tablecloths. They work great, come at a great (cheap) price, and are easily moved, stored, and replaceable. And..... they don’t have to be green! A blue screen can also be used as a background when creating your projects. Here is an example of a green screen corner set up in our classrooms. This was done with a flat green sheet attached at the top of the cupboards. When we are not using it we roll it up and put it on top of the cupboards, out of the way! *** We recently had the most amazing opportunity to work with Matt Miller and his team. He asked for us to be guests writers on his blog!
Now, if you don’t know Matt Miller, he is the author of the well known book Ditch That Textbook and many more books. His focus is on technology in the classroom. If you have never checked him out or read any of his books, we highly recommend it! This was, in part, the article we had the opportunity to publish! To check out the entire article in all its glory (photos and graphics included), head over to Matt’s website -> 10 Green Screen Ideas for the Classroom |
AuthorMegan and Kara are educational leaders, professional development experts, and current classroom teachers who are improving the way instruction is being delivered in the standard classroom. Archives
May 2024
Categories |
 RSS Feed
